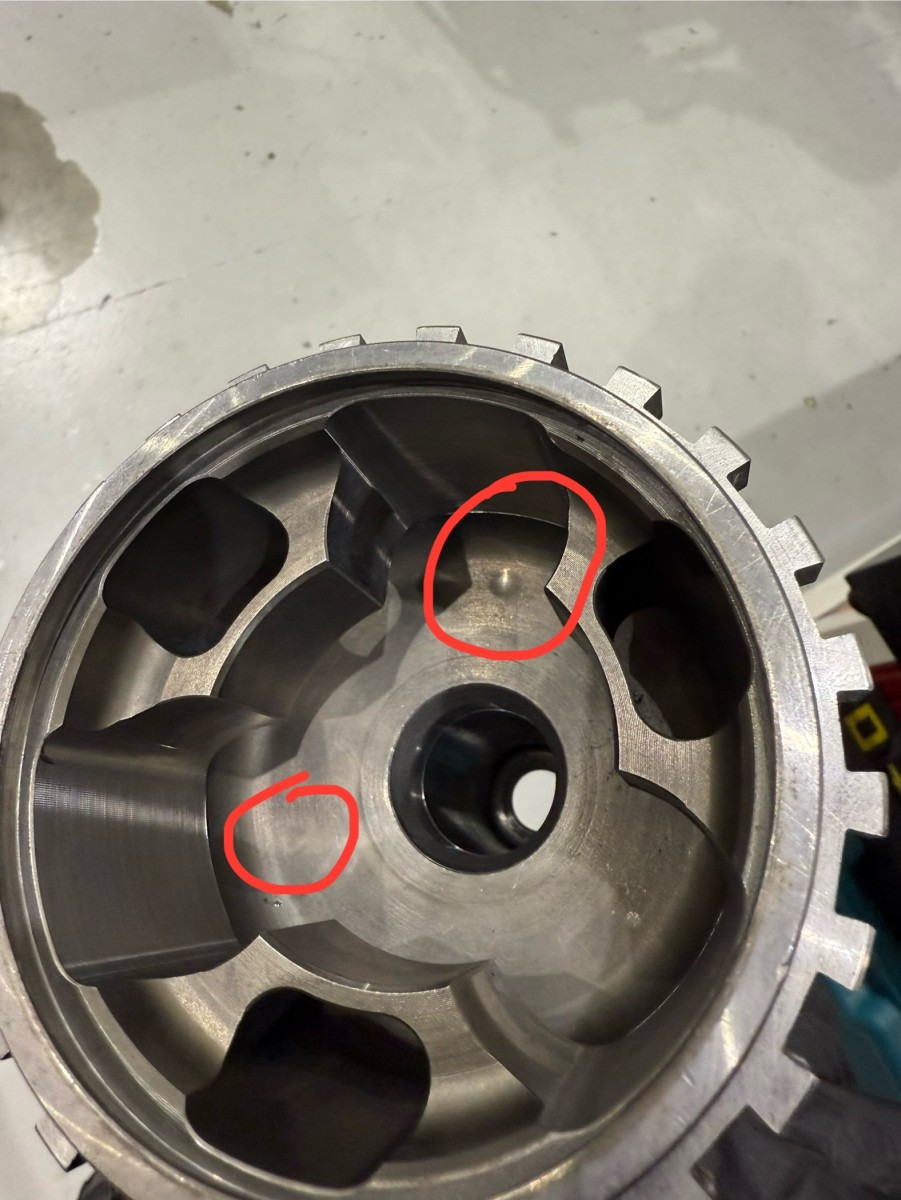
Non-destructive Testing (crack detection / condition testing)”
NDT Inspection
MJ Tech offers a full NDT Inspection service, including:
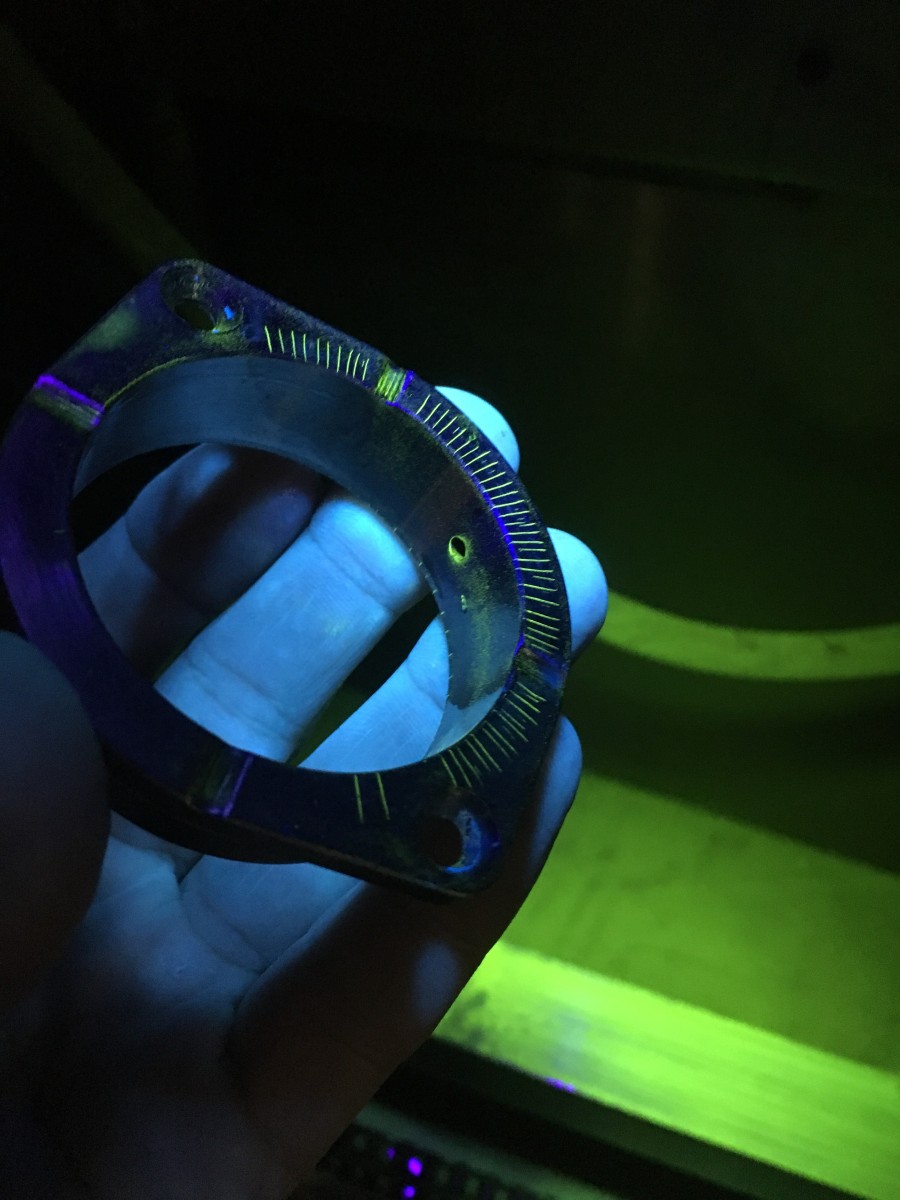
- Magnetic Particle Inspection (MPI) to BS EN 4179:2021 ASTM E1444-22, used to find surface and near surface flaws in ferromagnetic materials.
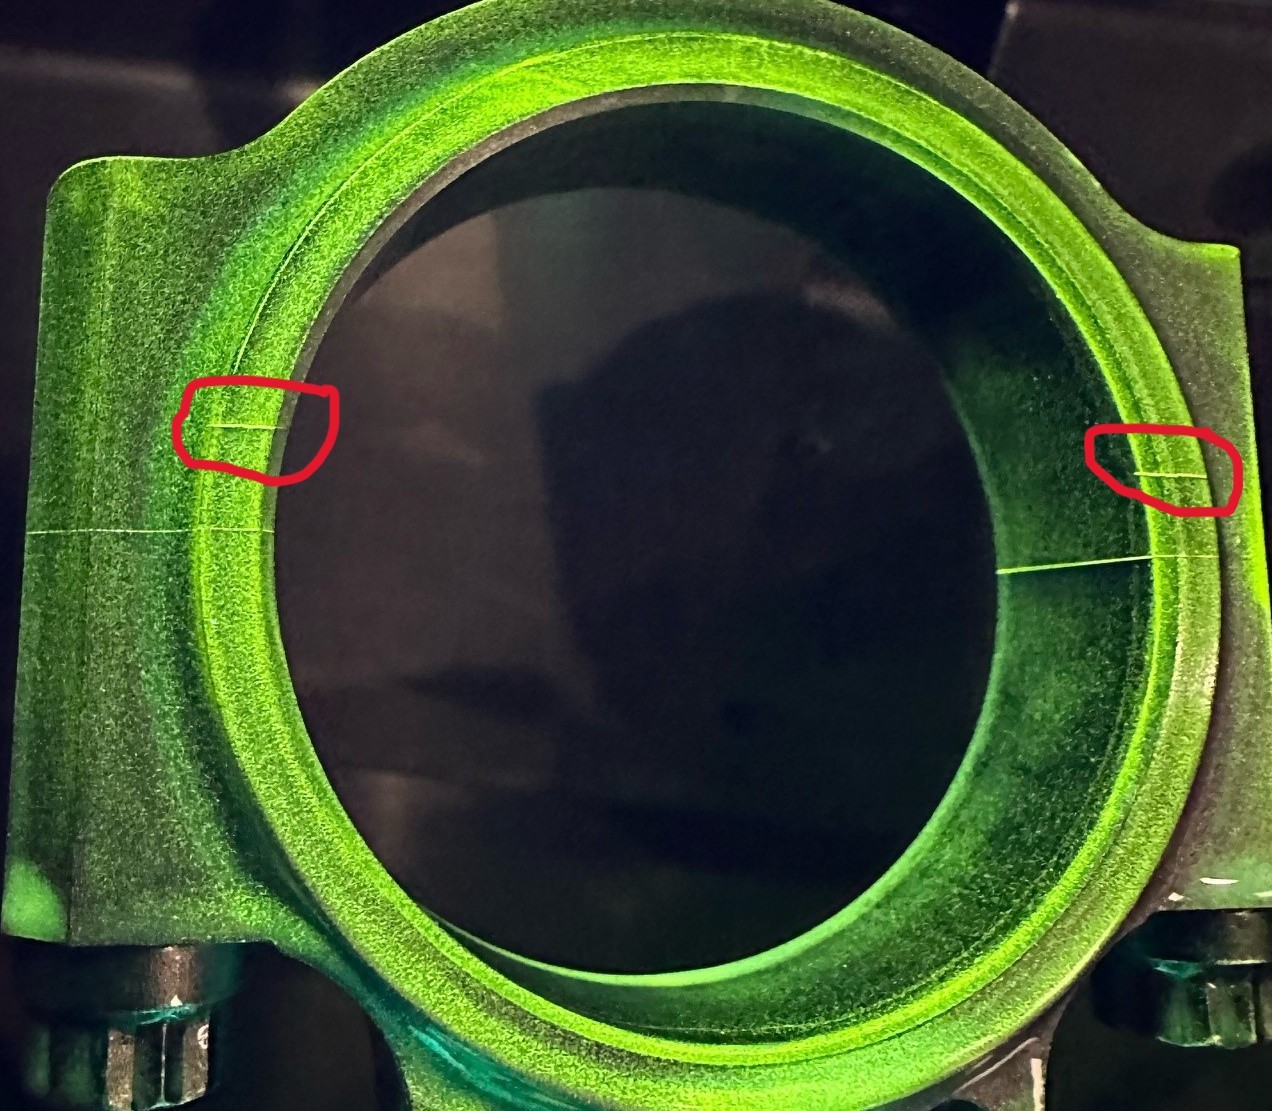
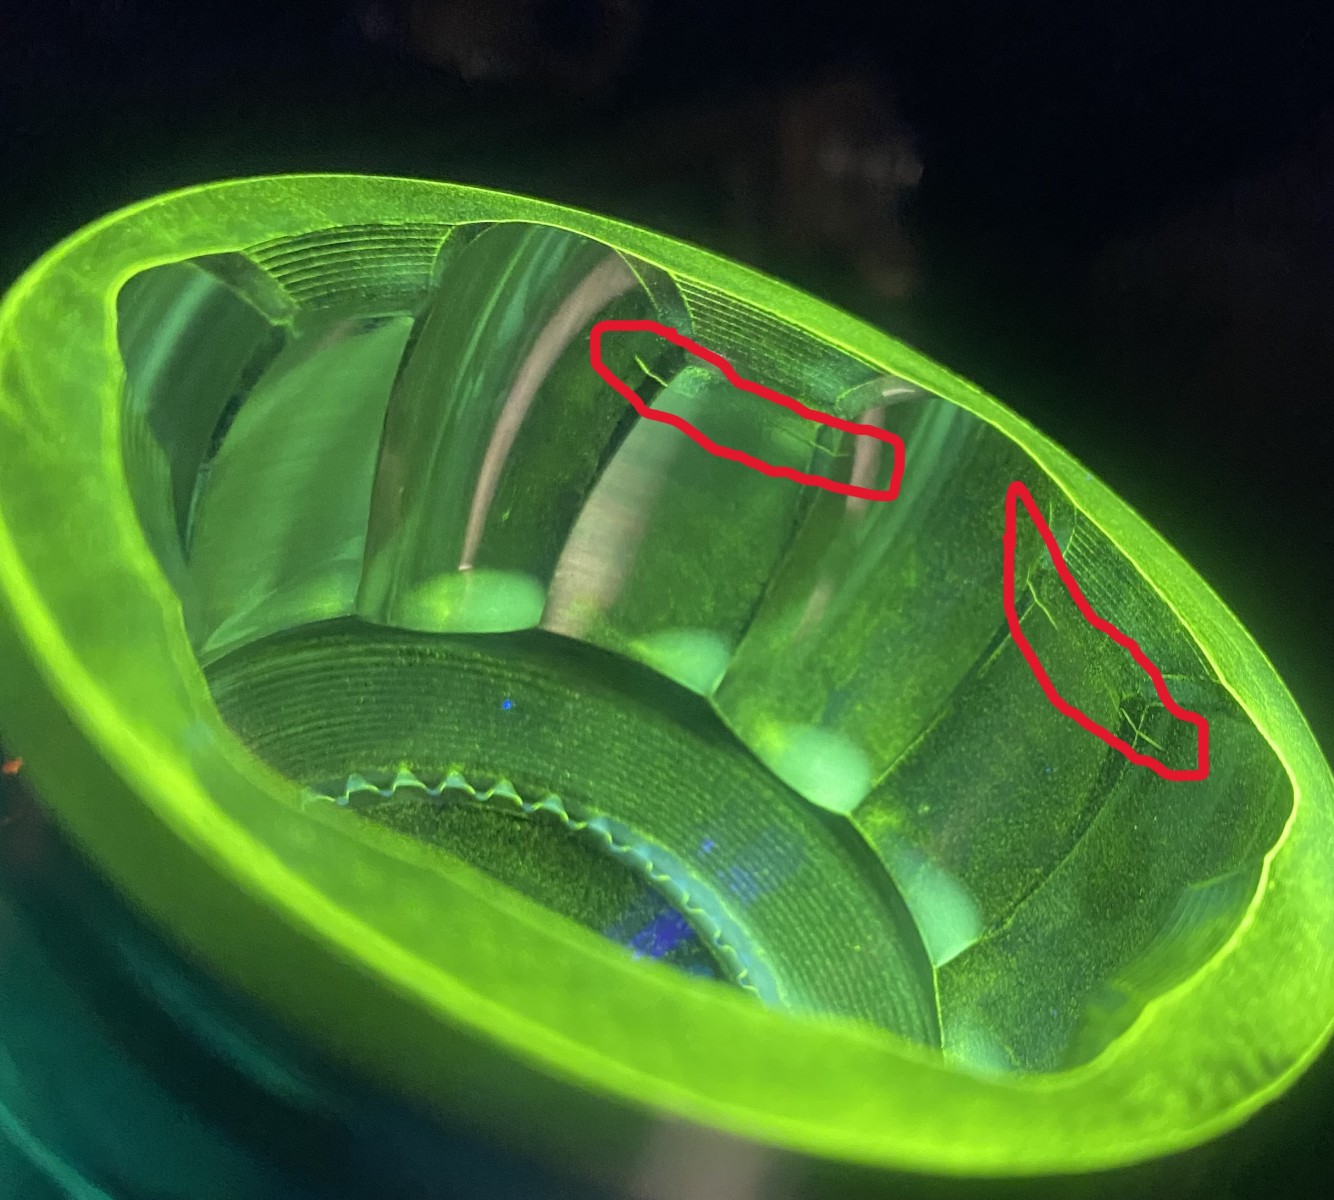
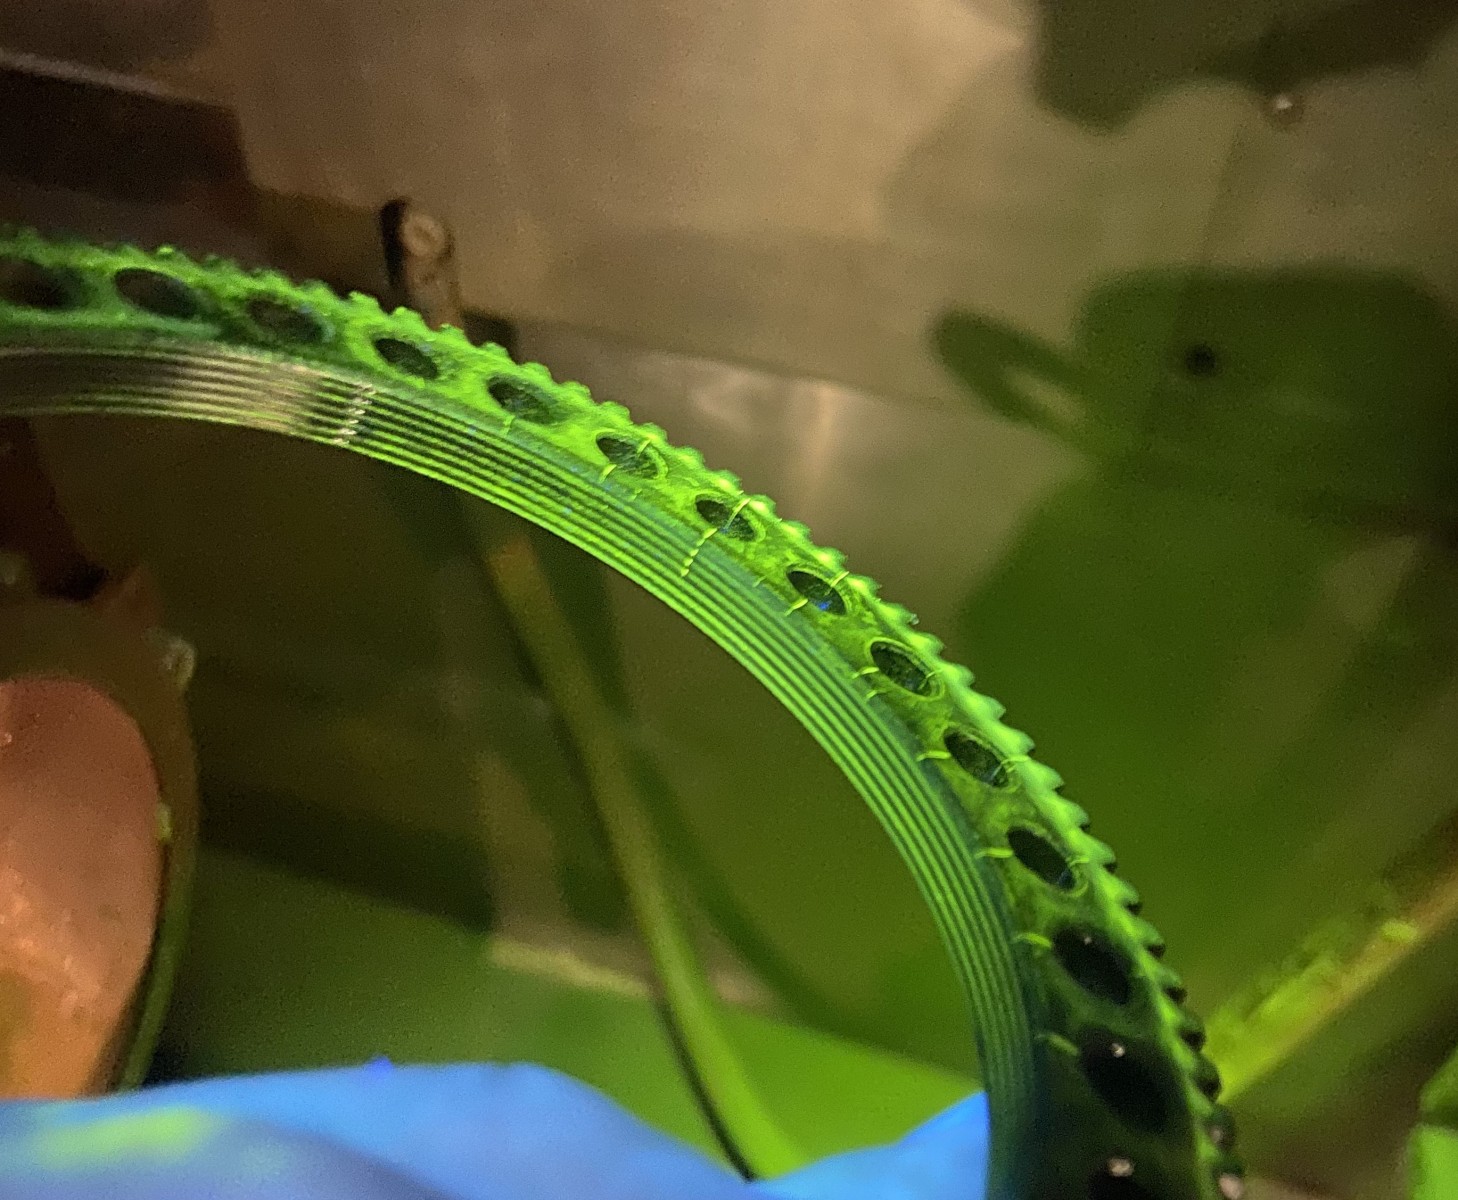
- Dye Penetrant Inspection (DPI) to BS EN41792:2021 ASTM E1417:21, used to reveal surface breaking flaws by bleed-out of a coloured or fluorescent dye.
- Visual Testing (VT) to BSEN970 1997, used to extensively to evaluate the condition or the quality if a weld or component. This is an inexpensive and easily carried out inspection without the need for specialist equipment.
Our inspectors are trained and qualified to Aerospace Level 2
Inspection reports issued for FIA Appendix K
More about NDT
NDT is Non-destructive Testing, also known as NDE (Non-destructive Examination). There are many NDT methods and techniques, and here are brief descriptions of the more commonly used ones. The object of NDT is to find flaws in the material being tested, and the successful application of the test is largely dependent upon the skill of the operator and the equipment used.
Magnetic Testing (MT)
Also known as MPI (Magnetic Particle Inspection). It is a method that can be used to find surface and near surface flaws in ferromagnetic materials such as steel and iron.
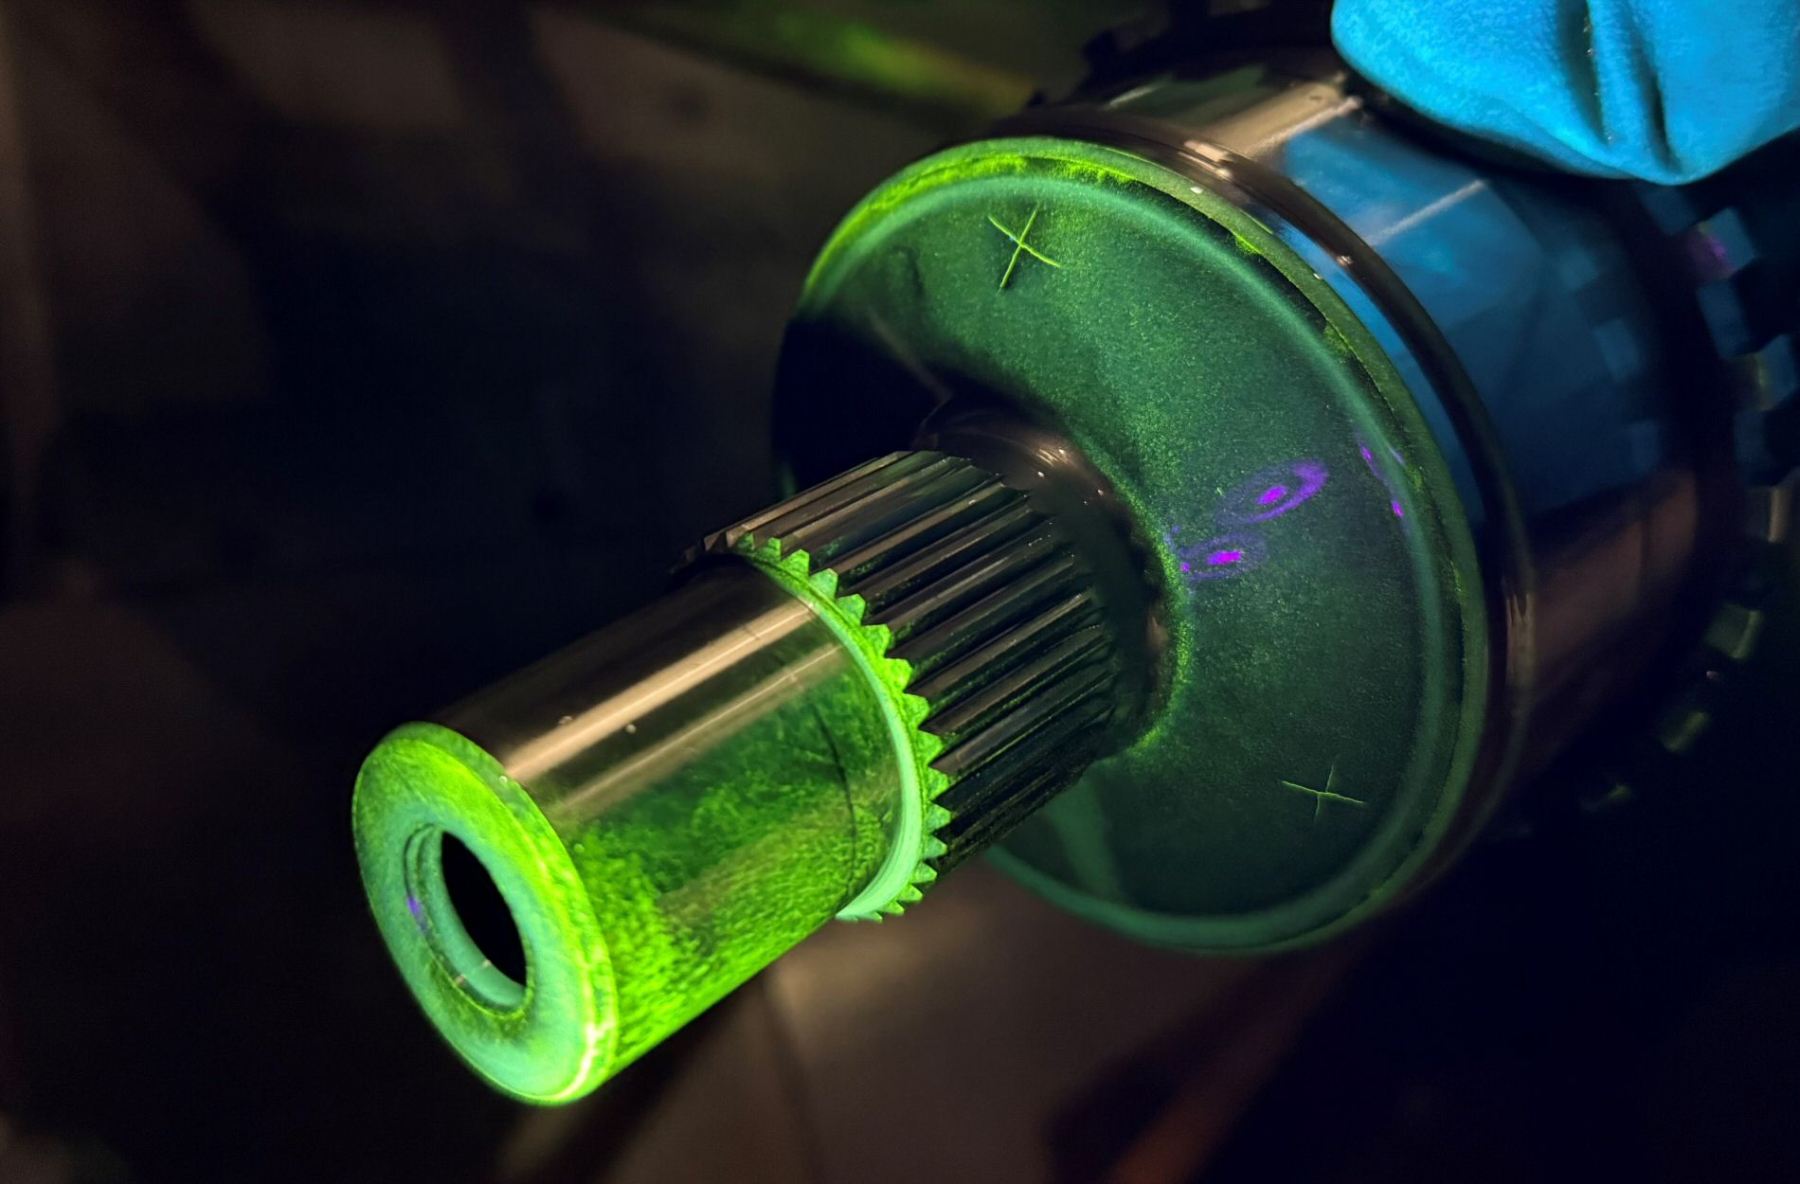
The technique uses the principle that magnetic lines of force {flux) will be distorted by the presence of a flaw in a manner that will reveal its presence. The flaw (for example, a crack) is located from the “flux leakage”, following the application of fine iron particles to the area under examination. There are variations in the way the magnetic field is applied, but they are all dependant on the above principle.
The iron particles can be applied dry or wet; suspended in a liquid, coloured or fluorescent. While magnetic particle inspection is primarily used to find surface breaking flaws, it can also be used to locate sub-surface flaws. But its effectiveness quickly diminishes depending on the flaw depth and type.
Surface irregularities and scratches can give misleading indications. Therefore, it is necessary to ensure careful preparation of the surface before magnetic particle testing is undertaken.
Penetrant Testing (PT)
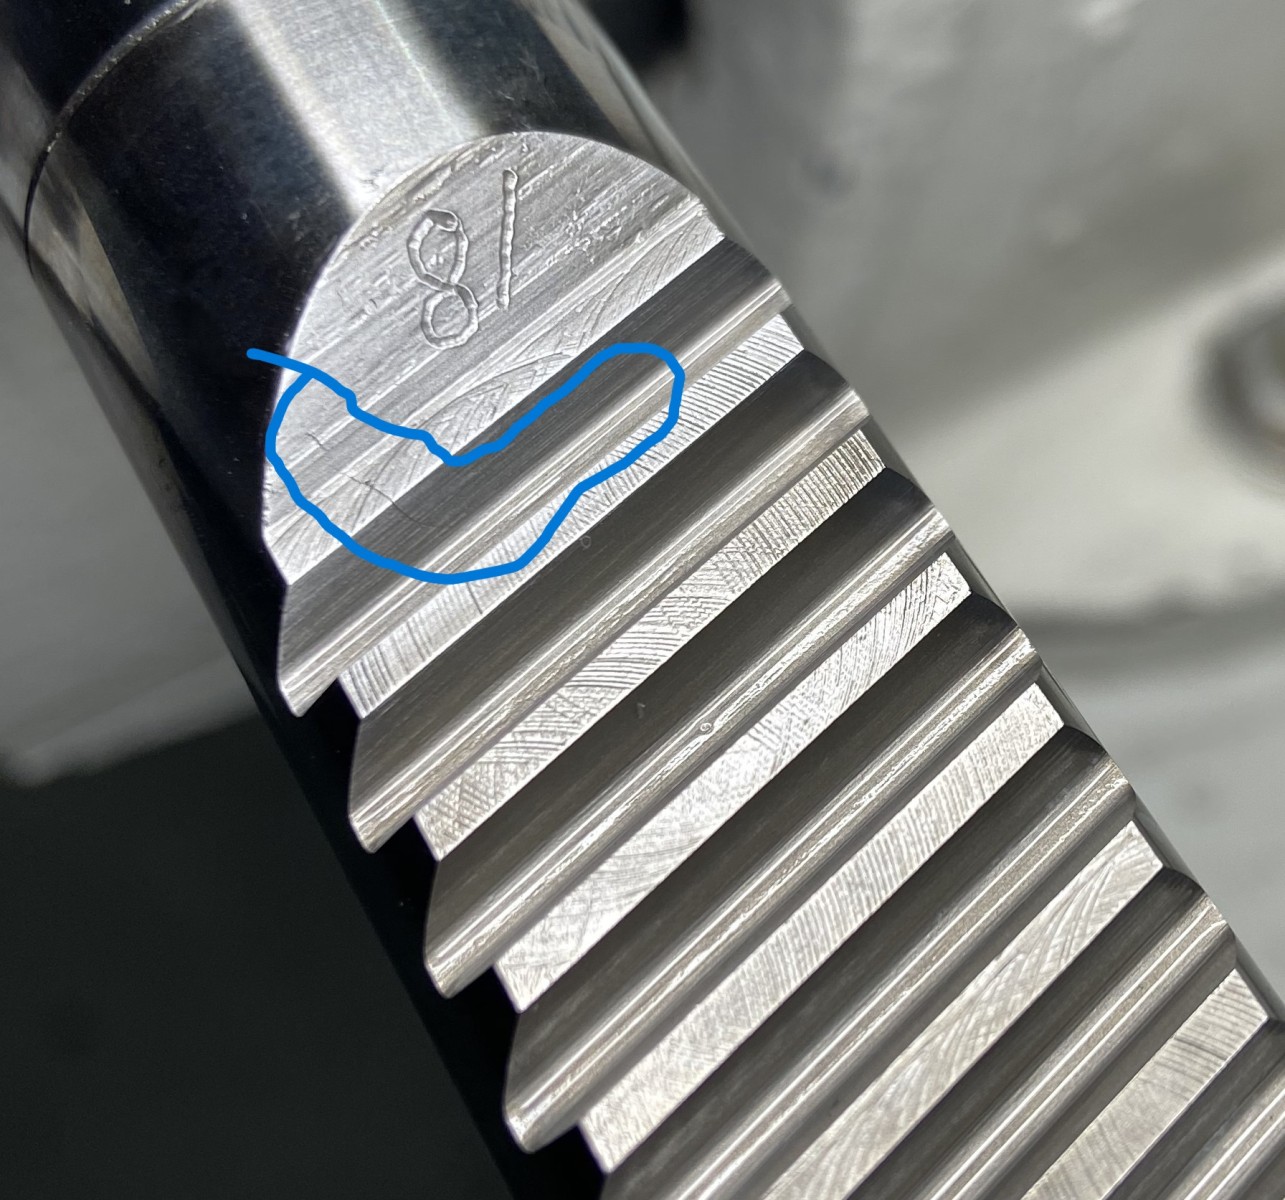
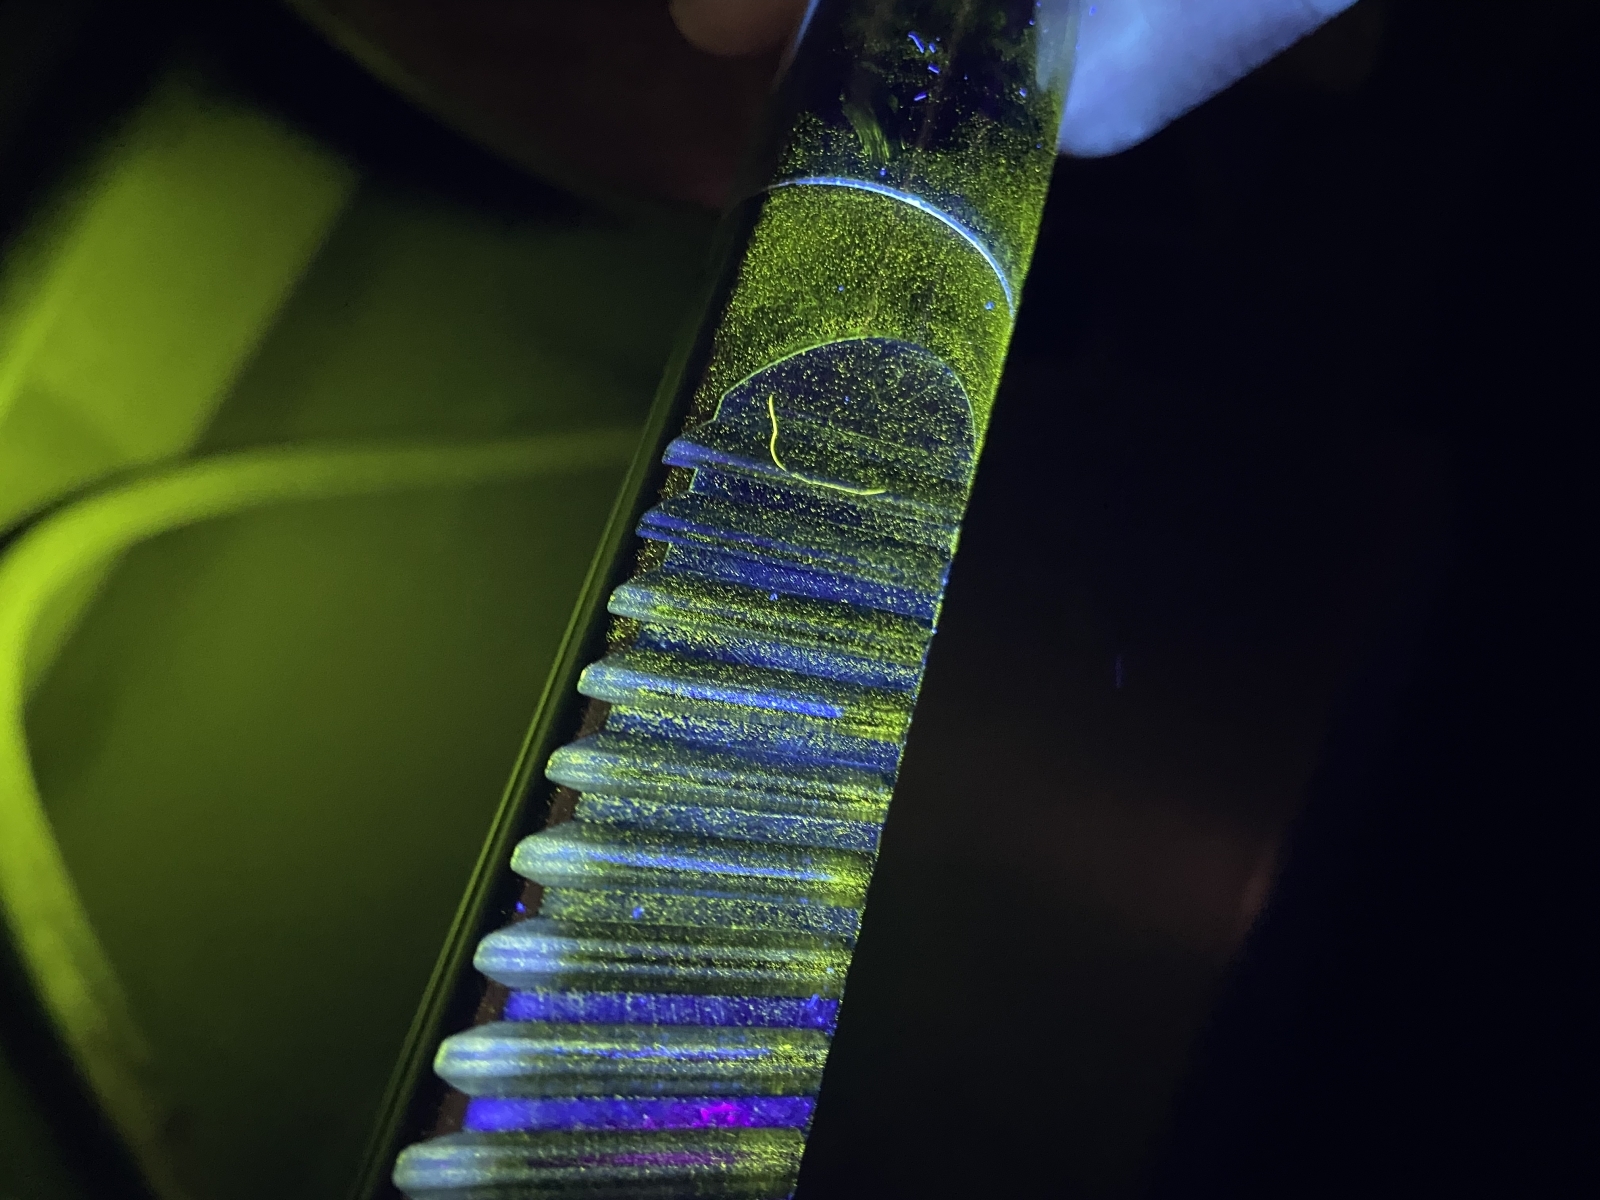
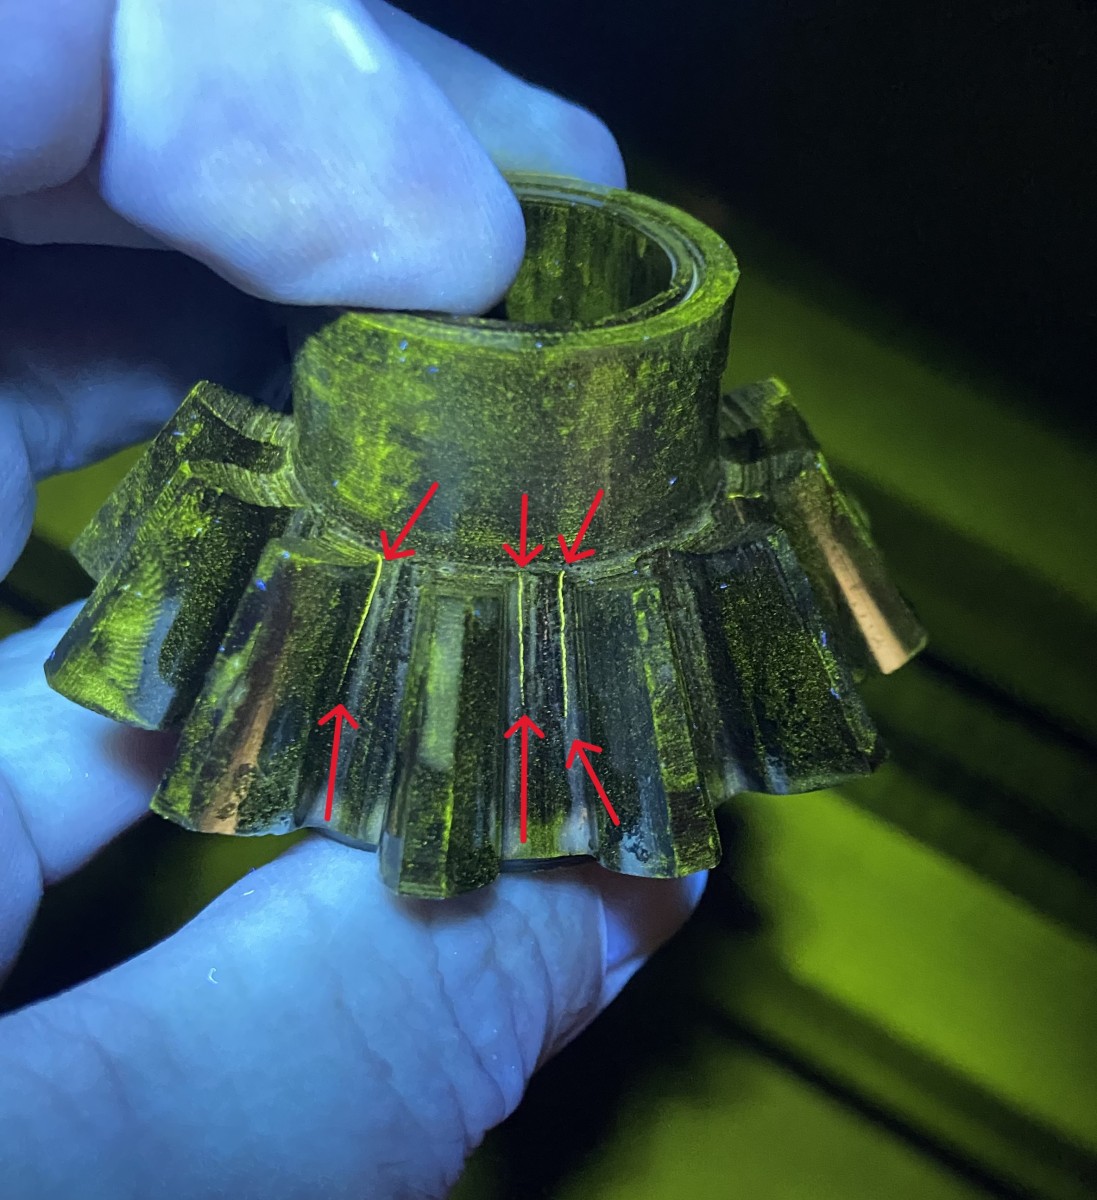
Also known as Dye Penetrant Inspection (DPI), Liquid Penetrant Inspection (LPI) or Fluorescent Penetrant Inspection (FPI). It is a method that is used to reveal surface breaking flaws by bleed-out of a coloured or fluorescent dye from the flaw.
The technique is based on the ability of a liquid to be drawn into a “clean” surface breaking flaw by capillary action. After a period of penetration time, excess surface penetrant is removed and a developer applied. This ‘draws’ the penetrant from the flaw to reveal its presence. Colour contrast (Or “visible”) penetrants require good white light while fluorescent penetrants need to be used in darkened conditions with an ultraviolet light (Also known as black light).
Penetrant inspection can be used on almost any non-porous material. It is essential that the material is carefully cleaned first, otherwise the penetrant will not be able to enter the defect. If surface penetrant is not fully removed, misleading indications will result.
Visual Testing (VT)
Also known as Visual Inspection, VT is the one NDT method used extensively to evaluate the condition or the quality of a weld or component. It is easily carried out, inexpensive and usually doesn’t require special equipment.
It is used for the inspection of welds and other components where quick detection and the correction of flaws or process related problems can result in significant cost savings. It is the primary evaluation method of many quality control programmes.
VT requires good vision, good lighting and the knowledge of what to look for. Visual inspection can be enhanced by various methods ranging from low power magnifying glasses through to boroscopes. These devices can also be used with television camera systems. Surface preparation can range from wiping with a cloth to blast cleaning and treating with chemicals to show the surface details.
It can identify where a failure is most likely to occur and identify when failure has commenced. VT is often enhanced by other methods of inspection which can identify defects that are not easily seen by the eye.
Contact MJ Tech for motorsport non-destructive testing (NDT) crack testing near Silverstone, in Bicester, Oxfordshire, Thames Valley.
Non-destructive Testing Gallery
(Click to view details)

